by chelsea | Jun 27, 2018 | Travel
I have been fortunate enough to travel a relatively extensive list of countries and visit more than a few of Caribbean Islands. I was never sure if Hawaii would be the place for me. I believed it would be the same as the Caribbean Islands I had already experienced (except more expensive and further to travel)… my mistake! Hawaii is the most naturally beautiful place I have ever been. I spent 15 days on Hawaii, that’s the big island (not to be confused with Maui, Oahu, or Honolulu). The big island is the only island that I can speak to and I sing its praise! I have compiled all of my trip-favorites from regions to restaurants and added links so you can book any of my recommendations. I won’t make any money from these links, I just want to share what I believe can make your trip unforgettable and make it easier for you to plan!
// Where to stay //
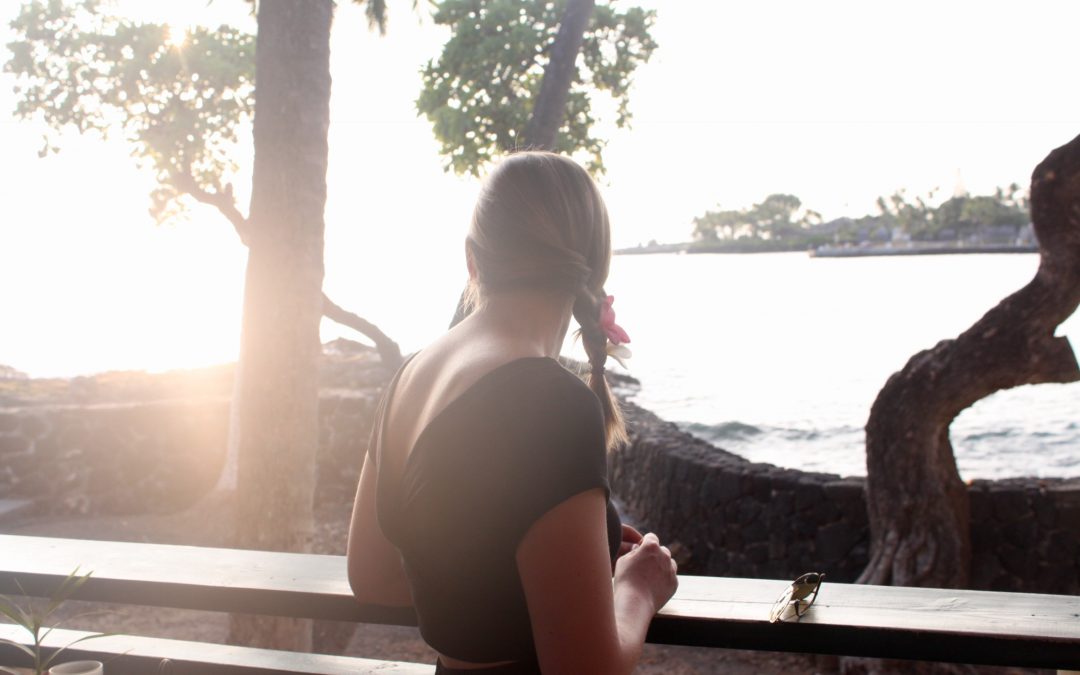
Our house-When my family travels, we typically opt for rental homes so we can spend more time together and don’t need to eat out for all of our meals. We found this paradise in this ocean front island home on VRBO and it looks like it’s ratings have gotten it to a really high ranking since our stay. We got to wake up to this view every morning…and had an equally beautiful sunset each night. We absolutely loved this house and I highly recommend it.
Kona, Kohala/Waikaloa, and Hilo are the regions of the island I would recommend staying.
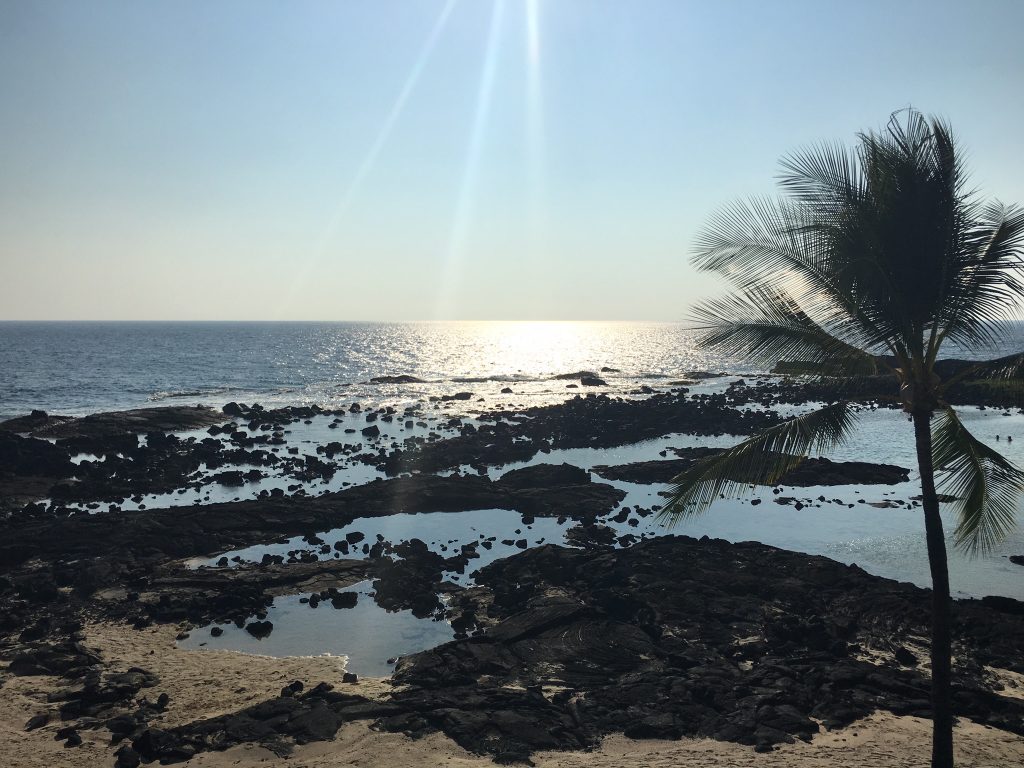
Kona– This is where we stayed! We spent our entire stay on the island in Kona. Our stay was split between two houses. One house was on the beach (the one I linked above) and we couldn’t have been happier. Our other house was on the hilltops. While our house in the hills was much less expensive, we wouldn’t choose that option again. I highly recommend staying closer to the town and beach, if possible. You will find below I also wish we had spent a few nights on another part of the island, Hilo. Kona is the West coast of the island. You will find a ton of shops, grocery stores, restaurants, and activities in this area. The Kona Coast stretches 40 miles over the west coast. This area includes some really great historical sites, bays, lava fields (with petroglphys), and beautiful sand beaches.
Kohala/Waikaloa– Kohala is the northwestern tip of the island. The accommodations on this part of the island are more expensive than Kona. Northeast Kohala is green and lush, while the southwest side of the peninsula is dry. North Kohala is has North America’s largest privately owned ranches – the Parker Ranch. The ranch areas are part of Waimea town (also called Kamuela). You can see real life cowboys here and eat some awesome organic, locally-sourced beef and other foods. Waikaloa is just south of this and many people debate whether Waikaloa is part of Kona or Kohala, I am linking it with Kohala in this post. Some call this area the gold coast because of the many luxury resorts that have been engraved into ancient lava flows in this area. One of the most beautiful beaches on the island, Hapuna Beach, is also located along this stretch.
Hilo-This is the super lush part of the island many people think of…before the volcano started getting active, now maybe you think of the Volcano Region, which looks very different but is nearby. The reason I added Hilo to my list of places to stay is because it’s beautiful and has a lot of activities you will want to do. Hilo is also a far drive from other parts of the island where you are more likely to stay. If I got to plan this trip again (I hope to someday) I would spend my first 1-3 nights in Hilo and then spend the rest of my nights in Kona. I would try to pack in all the activities that you do on this side of the island while there and really get full days to enjoy it. It rains a LOT here so I wouldn’t want to stay here too long because I wouldn’t want to miss the beautiful Hawaiian weather!
// What & Where to eat //
Kona Coffee-You must try Kona Coffee! One of the things Kona is known for is its coffee. You have probably heard about it and you should definitely try it while you’re there! There are so many coffee farms and roasters over this part of the island. I visited Greenwell Coffee Farm we took a tour of their farm and tasted some delicious brews. The great thing about Greenwell is they have free tours. I learned so much about coffee crops, harvest, and roasting. The island has a large variety of options so I would recommend looking up some options to see what may be the best for you, or even trying a few!
Macadamia nuts– These nuts are also grown in the hillsides of this region. I am sad to say, I didn’t eat a single macadamia nut during my trip. I would suggest you do though!
The Coffee Shack– This is a wonderful restaurant on the island! They are on the way up the mountains in Kona. Their height gives you an amazing view of the island and coastline. It is the perfect stop on your way to the coffee farms!

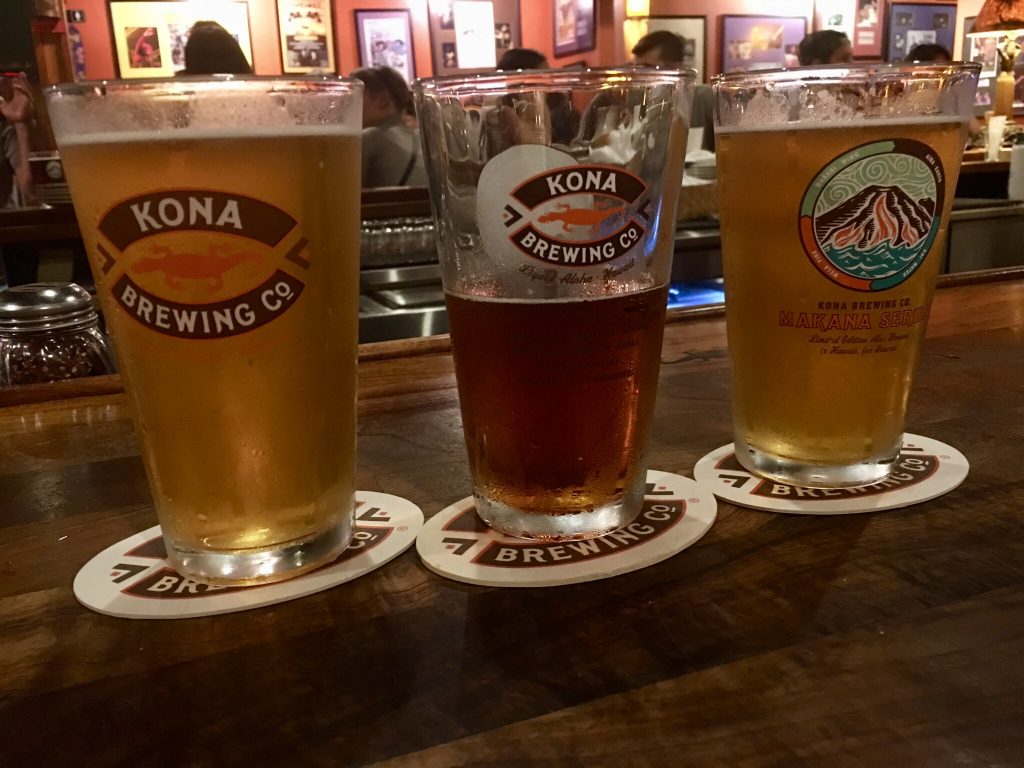
Kona Brewing is in Kona, Hawaii! You should definitely check-it out! We went to the brewery several times. We stopped by to try out some of their different beers and also had dinner there one night. The place has great, casual, vibes and offers great beer/food. Their beer is also available on the mainland. If you’ve never tried I recommend Big Wave and Lemongrass Luau (but I know my brother-in-law would recommend a different selection).
Jackie Rays, Lava Lava Beach Club, and Huggo’s On The Rocks were three of the best restaurants where we ate during our trip. They were a little less casual than some of our other stops and the food was amazing!
// What to do //
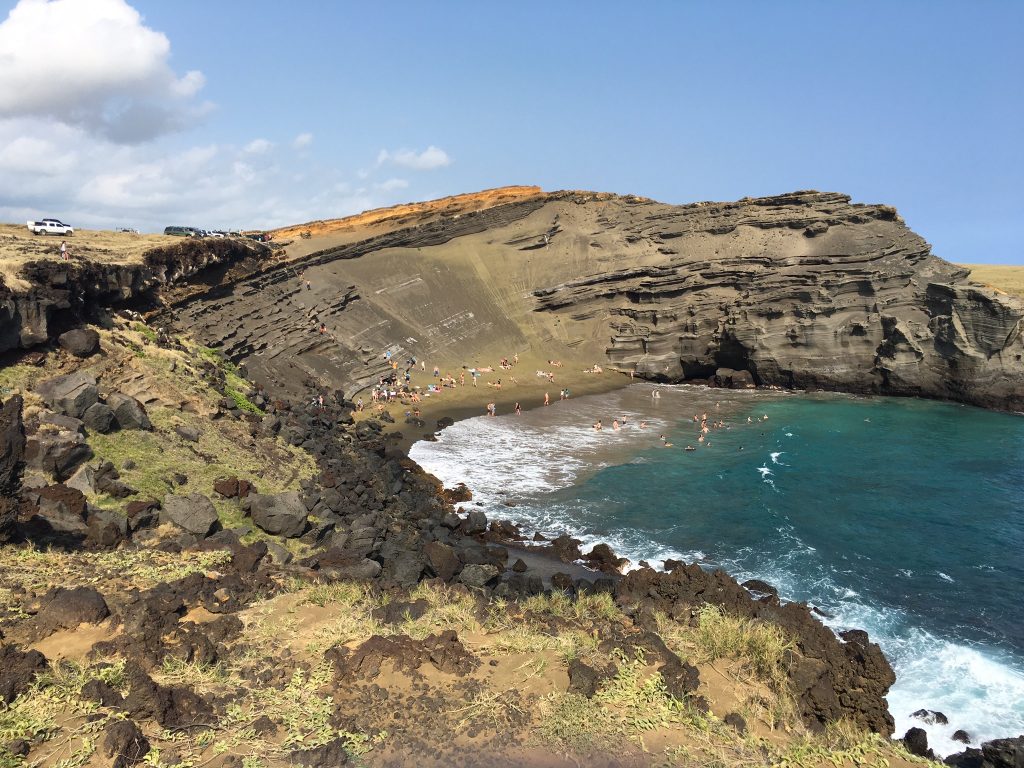
Since you’re on an island you should go to the beach! Luckily, in Hawaii you have a LOT of amazing beaches to choose from my favorite beaches were- The Green Sand Beach, The Black Sand Beach, Hapuana Beach, and Pua Bay.
Zipline– Hawaii is the first time that I have ever been zip lining! It was a great first time, but it will be hard for anything else to compare to this experience. We did our zip line with Umauma Experience. The zip lines were absolutely amazing and so were the guides! The zip lines will take you over 14 different waterfalls and you will get to run 9 different lines. The guides were very kind, great with adults and children, and great entertainers.
Helicopter Tour– This was a really amazing experience. It my entire family’s first time in a helicopter and everyone had a lot of fun. We used Paradise Helicopters. It was a great company. They took us through a safety session before we went out and we knew what to expect for the day. We chose to take the Doors Off Volcanoes and Waterfalls Extreme experience. I would definitely do the Doors Off experience, I wasn’t worried about falling out at all but it did add the the experience and I can’t imagine it would be the same with the doors on, in an enclosed setting. We were a little sad the day we went out there was a lot of rain which, mixed with lava, led to vog (volcanic smog). The visibility was pretty low that day and we didn’t get the full-experience we wish we had. I would recommend booking 1-2 days out instead so you can avoid that possibility. Of course, you can only do this if you have time to spare in case of an availability or weather issue.
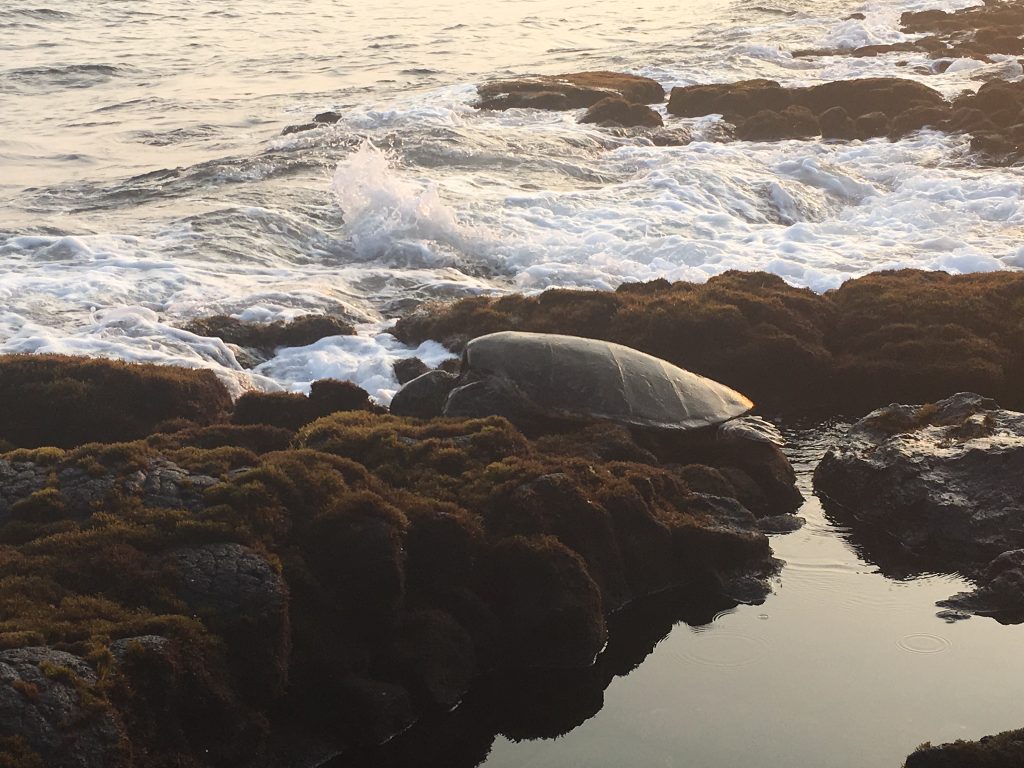
Snorkel– We did a morning snorkel with Sea Paradise. I would highly recommend using them if you are staying in Kona. They had a nice breakfast spread for guests to enjoy and provided everyone with a great day of snorkeling. We had several beautiful spots to snorkel, including seeing Captain Cook and saw tons of dolphins along the way.
Go whale watching– Whale watching season is . If you are in Hawaii during this time, you don’t want to miss the opportunity! Our whale watching trip was booked with Body Glove Hawaii.
Go to volcano National Park– I can’t say what this must be like right now! We visited Volcano National Park in two different ways. One day we drove to the Hilo airport and took a helicopter tour of the volcano (above). We also drove to the National Park and spent some time hiking there.
See waterfalls– Definitely go chasing waterfalls! Hawaii has so many amazing waterfalls we saw… A couple others I have heard great things about are, Rainbow falls, Boiling Pots area and Pe’epe’e Falls…
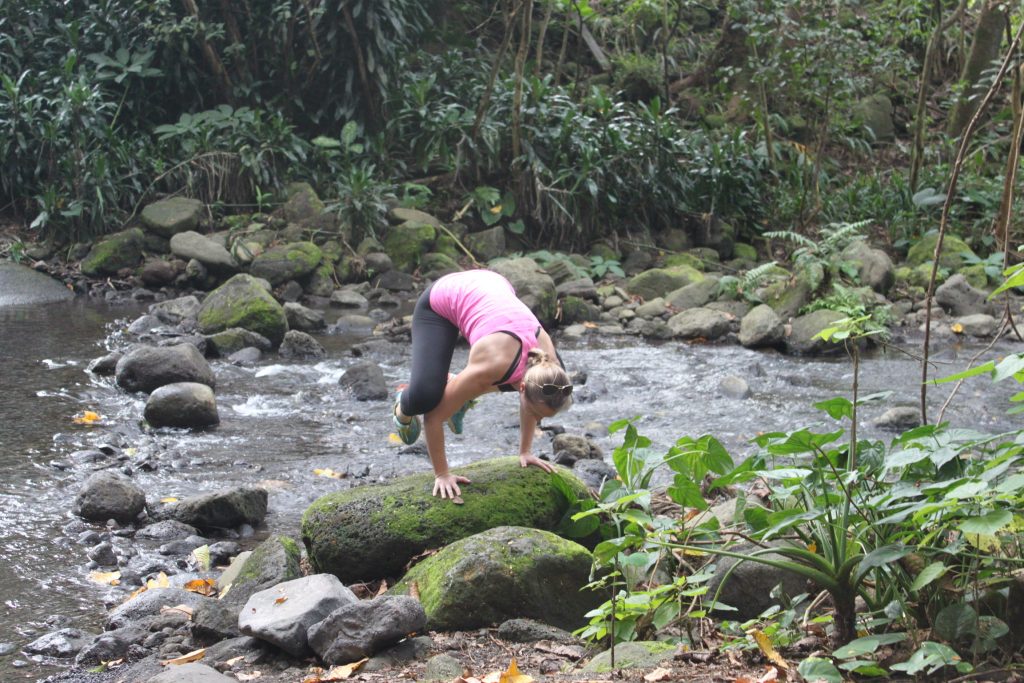
A few other things we loved doing included a visit to the City of Refugee. This was a really interesting part of Hawaiian history. It was a great way to see a beautiful beach, and learn a little bit about the island’s history. Our hike in Waipio Valley was absoluetely amazing (you cannot skip this). Be prepared for a tough hike down but you can see an amazing waterfall, wild horses, and a black sand beach once you reach the bottom. The hike up is easier than the way down! We also loved going kayaking/SUP (we rented these at Kailua Pier).

My last tip for planning your trip is to skip the expensive resort luau. We attended one and cannot say it met our expectations. They jam a ton of people into this event and you eat your meal buffet style. If you’re expecting a low-key luau or a “special” feel, you’ll probably be pretty disappointed. I would love to find out how to have a different experience at a luau!
I have so much aloha for Hawaii! Have you been to Hawaii or are you planning a trip? You can also contact me via email if you’d like any more recommendations or have questions. Share any recommendations you have for the islands for me and other readers!
by chelsea | Jun 14, 2018 | Travel
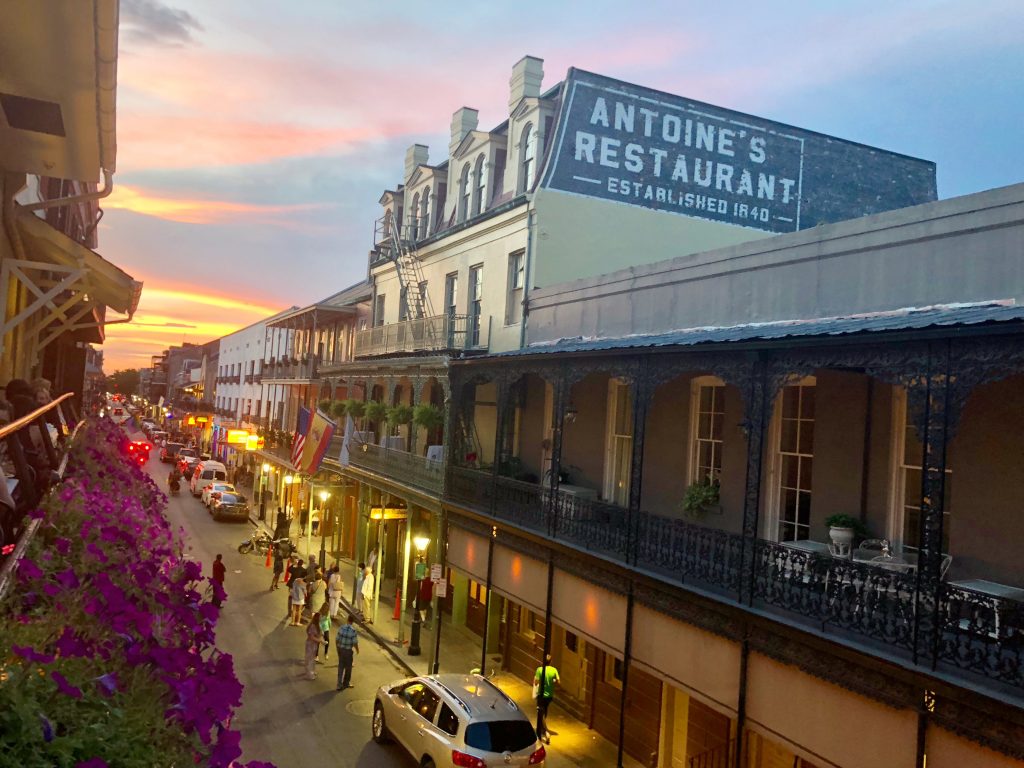
It only took one time in New Orleans to fall in love! New Orleans is one of the most charming cities I have ever had the pleasure to visit. The city has so much personality, it’s hard to imagine anyone not loving their stay. After spending 4 amazing days in the French Quarter, I have devised a list of places you should check-out when you visit. Here’s my travel guide to New Orleans.
Where to eat
New Orleans is known for amazing food. Its cajun delicacies and french pastries are to die for. There are so many amazing restaurants in New Orleans, I definitely couldn’t try them all in four days or even list them all. My research and experiences helped my create my list of places you should try!
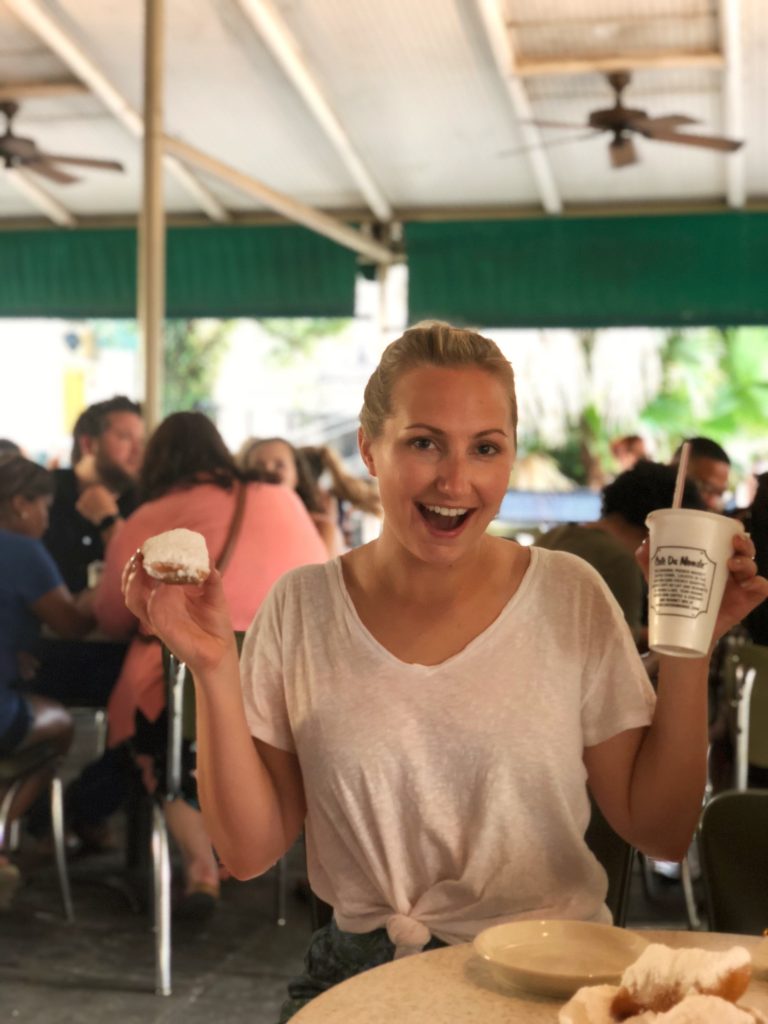
Café Du Monde
You must go! I ordered Beignets and a Café Au Lait (what they are known for). This is a New Orleans staple that your visit to New Oreleans would be amiss without. Be prepared, they only accept cash.
Royal House Oysters
I started with Crab Claws, it was served in the best sauce! It comes with some toasted French bread and makes for some amazing dipping (I wouldn’t pass on this dish!). I ordered the Taste of New Orleans. It gave me the chance to try three different cajun dishes. It included: Chicken & Andouille Jambalaya, Crawfish Etouffée and Chicken and Andouille Gumbo. All three dishes were super tasty but I probably enjoyed the Crawfish Etouffée the most, which is an option on its own. One of the best things about this restaurant is its balcony seating, it has beautiful sunset view.
Bourbon House
I loved my dinner here! For my main dish I ordered the blackened tuna. It was seared perfectly and had the tastiest seasoning. It comes on a summer salad bed that was so tasty, but I’m not completely sure how they made it! We ordered dessert here (which we rarely do) but it was so worth it! I had the seasonal cobbler skillet that comes topped with mascarpone gelato. They had a peach cobbler that was so delish!
The Bombay Club
The Bombay Club was so cute! I ordered some fried brussels sprouts and PEI Mussels that were super tasty here. My favorite thing about this place is it’s overall atmosphere. You have to walk a little bit off the beaten path to find it. They have live jazz music playing. Plus its decor takes you back in time that just feels like New Orleans.
Where to Go & What to Do
The Spotted Cat
Of course you cannot visit New Orleans, the birthplace of jazz, without scoping out a few live bands. They are bound to be awesome, even the ones you hear on the street! There are tons of great spots to hear live jazz. If you’re up for a late-night band feel head to The Spotted Cat. We listened to a great live jazz band here the first night. Be prepared with cash for your drinks (they ask that you get a minimum one drink/set).
The Carousel Bar
This bar and lounge is a famous New Orleans hotspot. It is a revolving bar that Vogue Living named one of “The Top 20 bars in the world”. I ordered a Pimm’s Cup and Fleur De Lis and loved them both. They’re known for creating the Vieux Carre, which I can’t say is my kind of drink but you should try it while you’re there!
Where to Stay
Dauphine Orleans Hotel
I spent my stay in New Orleans at Dauphine Orleans Hotel. It is a really cute boutique hotel in French Quarter. The hotel’s buildings date back to the early nineteenth century. I recommend checking-out some of the hotels history if you stay there. The hotel is within walking distance to the streetcar lines, Mississippi riverfront, and Bourbon Street. When you check-in you will feel a very personal experience with their friendly staff and receive a complimentary welcome beverage at their bar, May Baily’s Place. They also have a quaint courtyard with a saltwater pool.
Hotel Montelone
This hotel houses The Carousel Bar . While I can’t say anything about the rooms I do think it would be a fun place to stay on another visit. The hotel has a much ritzier feel than Dauphine Orleans Hotel but it’s in a great spot and has a great bar and restaurant downstairs.

These are all spots are places I will visit again when I come back, very soon!
Do you have favorite places in New Orleans? Share them so I can check-them-out on my next visit and for other readers!
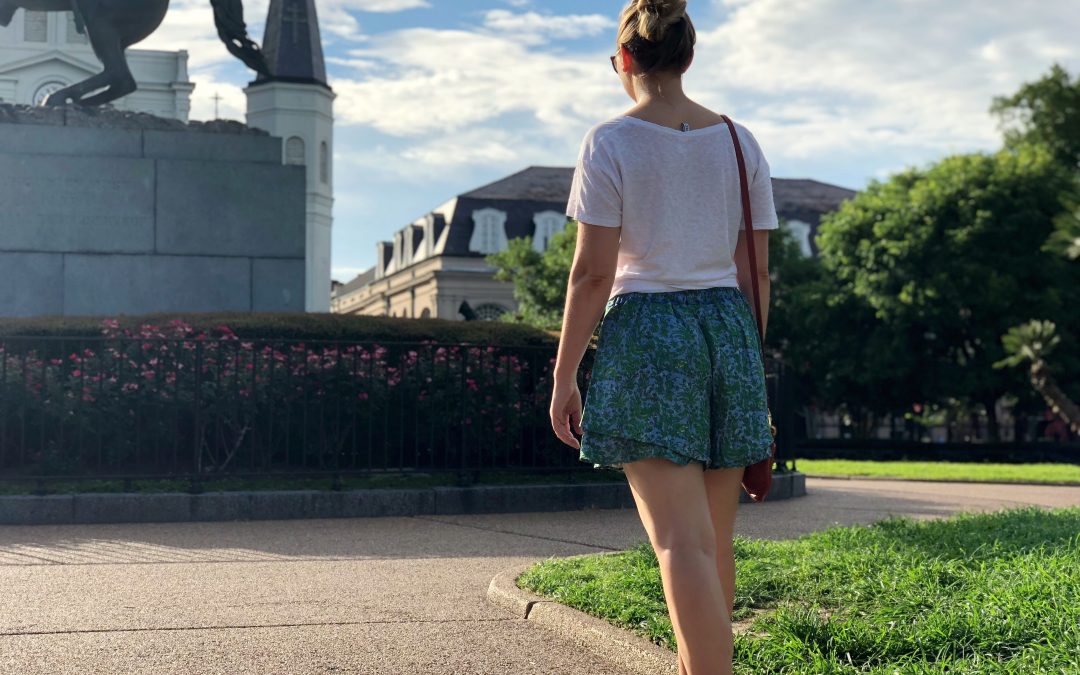
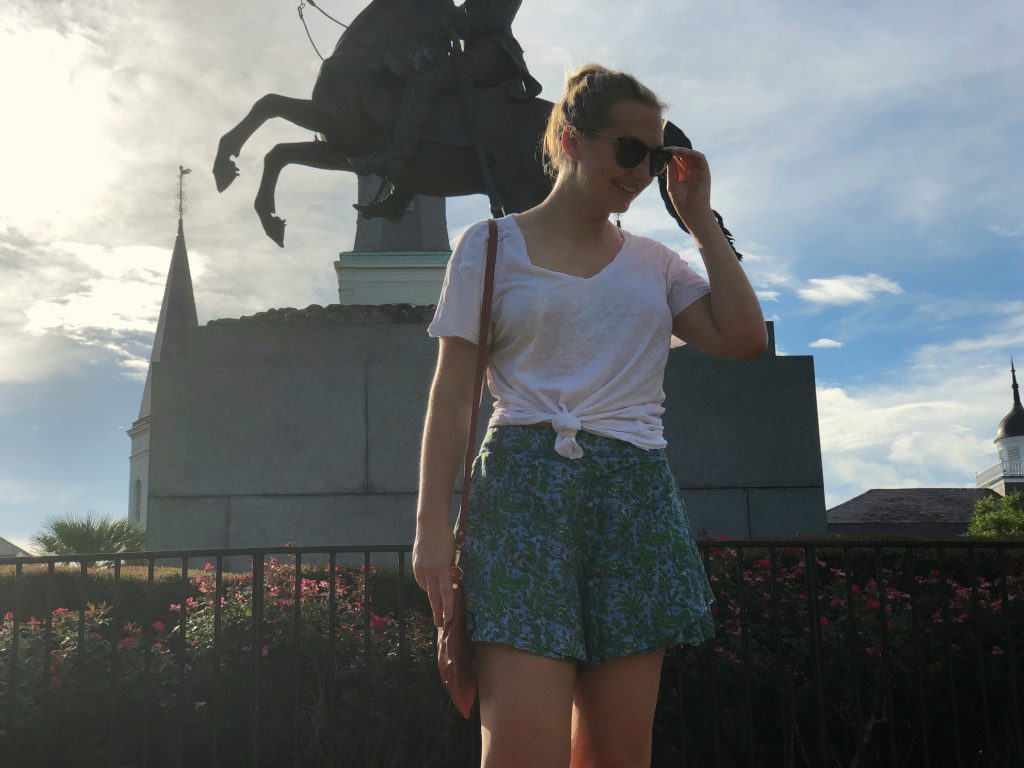
Shop my look
// Shorts // T-Shirt // Shoes // Sunglasses//
by chelsea | Jun 14, 2018 | Beauty
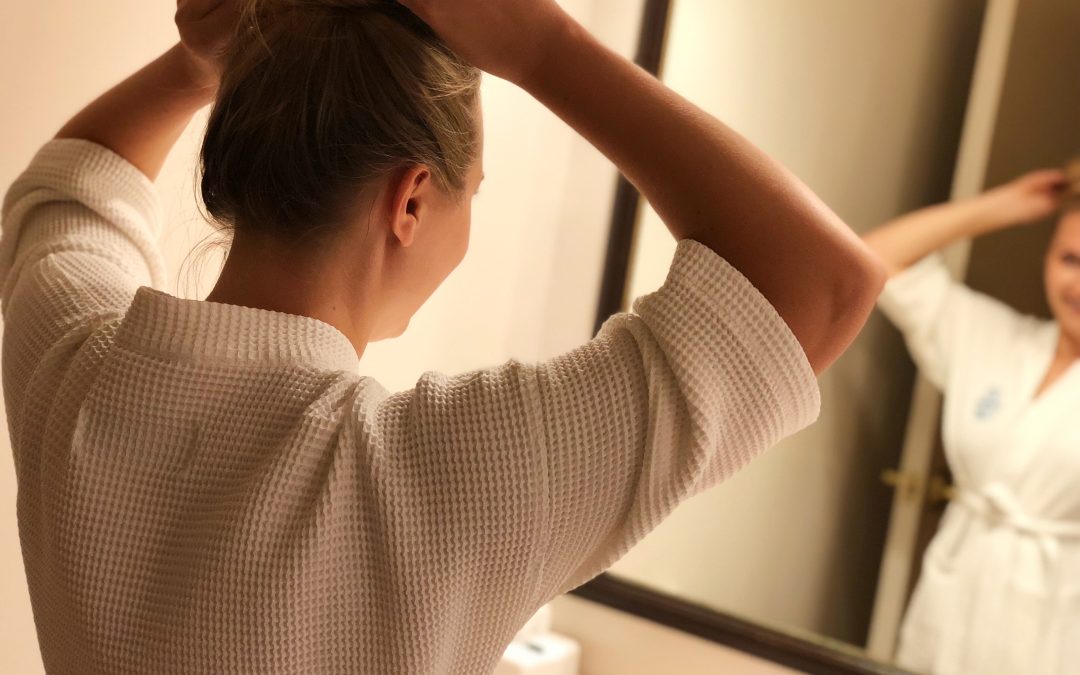
Straight, fine hair can tough! It’s great that it’s easy to manage because it rarely gets out of control or wild. However, it’s really tough to keep smooth, give volume, create texture, and worst, hold your style! I am sharing my favorite hair products. These products help take care of the locks you have and create the look of thicker, more voluminous tresses.
I use these types of products on a regular basis. I go through phases where I will spend different amounts of money on hair products. I also simply like to switch products up sometimes! Some brands of products I alternate between while other brands I use pretty exclusively. If you want to try them out, you can see which you like better or choose the kind that works for your budget. I love everything I am sharing!
Here are my 10 favorite hair products, they’re great for hair like mine!
1. Hair ties: I am obsessed with these L. Erickson Ponytail Holders they don’t slide out of your hair and they keep hold your hair put too. Plus, they’re soft and don’t have any metal that can damage your hair. They come in all different colors. I buy the beige color ones and have found they blend in really well with a variety of blonde hair shades.

2. Dry Texturizing Spray: When I started using a texture spray in my hair, my world of hair completely changed! I have tried a few different kinds and have two absolute favorites! My number one choice is ORIBE Dry Texturizing Spray . This stuff smells amazing, I always get compliments on my overall smell when I use this in my hair. I cannot emphasize how heavenly this stuff smells! A full-size bottle of the ORIBE Dry Texturizing Spray is about $46. My second choice is Garnier Fructis Style Texture Tease Dry Touch Finishing Spray
 it is still works and smells great but is going to cost you less than $5, which is a pretty great price.


3. Tangle Teezer: I’m not sure if you have heard of the Tangle Teezer . They are gaining popularity with girls who have hair like mine and for good reason! The Tangle Teezer has two uses. The first, it gets knots out of your (wet or dry) hair painlessly. If you have fine hair, you know how easily it gets knotted together. It can be painful and can take awhile to get all your knots out. The second, it works great to tease the top of your hair. This is a great way to add volume to your hair whether you’re putting it up or leaving it down. I’ve been using it before I curl my hair or before I throw it up into a top-knot or pony and it makes my hair so much fuller! It comes in a variety of color options, I pretty much always choose to buy things in black or white. It was also designed ergonomically, which makes it really comfortable to grip!

4. Curling Wand: I recently learned how to curl my hair with a wand, thanks to a very patient roommate and friend! For the first few months she let me borrow her wand but I usually had to have her curl it for me. After deciding I may not have the skills to use a wand and a little bit of research I came across the The Beachwaver Co. Beachwaver Pro Curling Iron . This made curling my hair with a wand so much easier! It’s so fast, has a consistent outcome, and makes it a one handed job!

5. Heat Protection: When you already don’t have a lot of hair you have to protect what you’ve got! Before I use any heat on my hair I make sure to use something to help protect my locks! I have two favorite heat protectors. The first is Beauty Protector Protect & Detangle. This hair product has an amazing smell and comes in a bottle is easy to pump and sprays a good amount at a time. A full size is about $24. My second choice is TRESemme Thermal Creations Heat Tamer. A bottle of this will cost you less than $5. I think the TRESemme Thermal Creations Heat Tamer is really effective and still has a nice smell.


6. Dry Shampoo: That whole “second day” look doesn’t come easy for me! My fine hair gets really oily, really fast! Dry shampoo can always extend my style for a second though. There are two types of dry shampoo that I love. The first is Bumble and Bumble Pret-A-Powder Shampoo . This is a little different formula than the normal dry shampoo, it comes in a bottle that is similar to a baby powder. You just dump a little on the top of your head and throughout your hair then rub it in like you would any other dry shampoo. I love this for a few reasons! The bottle is a little smaller, which makes it great to travel with! It isn’t an aerosol so you can carry it on to a flight. You have a little more control over how much you use. This one is a little more expensive at $30 a bottle so you want to know that a little is going to take you a long way! I also always keep Herbal Essences Dry Shampoo
 on hand. I love the way this dry shampoo smells. In the aerosol bottle it is a bit faster to apply but you use a lot at once so it doesn’t last me as long. A bottle of this is under $9.


7. Shampoo and Conditioner: I like to alternate my shampoo and conditioner pretty often. Sometimes I think that getting different nutrients into your hair helps keep it healthy (a completely personal opinion). Currently, I am using OGX Hydrate & Color Reviving + Lavender Luminescent Platinum Shampoo and OGX Hydrate & Tone Reviving & Lavender Luminescent Platinum Conditioner
 . I feel like they are helping extend my color by removing brassiness and boosting blonde tones. Plus this shampoo and conditioner contains uva/uvb sun-filters (which will help extend color). The OGX products are also sulfate-free, paraben-free, and dye-free.


8. Darby Clips: I purchased these The Beachwaver Co. Darby Clips when I first began curling my hair. They really helped me section my hair which sped up my entire process. I bought mine at the same time I got my The Beachwaver Co. Beachwaver Pro Curling Iron. I didn’t realize there were so many types and brands out there. To be honest, if I were to do it again I wouldn’t feel so committed to the Beachwaver Co. brand because they sell them everywhere, and a lot of stores and brands have them at a great price!
I also linked these well-priced Darby Clips from Amazon 10 Piece Professional Hair Styling and Sectioning Clips and would recommend checking out a store like Marshalls or TJ Maxx for some deals on your Darby Clips.
 .
.

9. In-Shower Styler: I starting using this, Living Proof Perfect Hair Day In Shower Styler , in-shower styler after receiving a sample. I could feel so much more texture in my hair after just letting it air-dry that I decided to purchase it to use all the time!

10. Hairspray: The last step to (some) hair styles is some hair spray! I actually try to avoid hair spray as much as possible because I don’t love the stiffness it adds to my hair and my texturizing sprays normally do the trick. If I know I am going to be having a later night, or a big-day where I need my hair to really stay put I will use John Frieda Luxurious Volume Forever Full Hairspray for Fine Hair . This hairspray is less than $10 and helps to build volume. I like that it has a continuous aerosol spray instead of a pump. Ultimately I choose this hairspray because it leaves my hair more flexibility than other hairsprays.
 .
.
Do you have any hair products that you love for fine or limp hair? Share them with me, I love to try new products!
by chelsea | Jun 8, 2018 | Style
Summer is my time to explore the world around me and make a little extra money! I am so excited for all of the adventures I have coming up this summer! I’ve been several places outside the US for incredible trips but I have not had the opportunity to see a lot of places in my own country. I made some major summer travel plans this year and I am excited to say that’s about to change! I’ll have the chance to visit: Richmond, New Orleans, Norwalk, Epping, Denver, Sonoma, Seattle, and a few other stops along the way!
My first stop is Richmond, VA. I’ve never been there before but I am really excited to check-out the town. A lot of these trips I have planned are long weekends. I used to have a really hard time packing for a long weekend. I’ve started to master the art packing for weekend getaways by always having a few “go-to” outfits for whatever season we’re in. These are outfits I know I can throw in my bag and will be excited to put on. I am sharing a few great outfits you can wear during summer weekends or throw in your bag for a weekend trip to know you’re covered. I’ll be there for three days, here’s what I am packing.
Outfits
Day 1
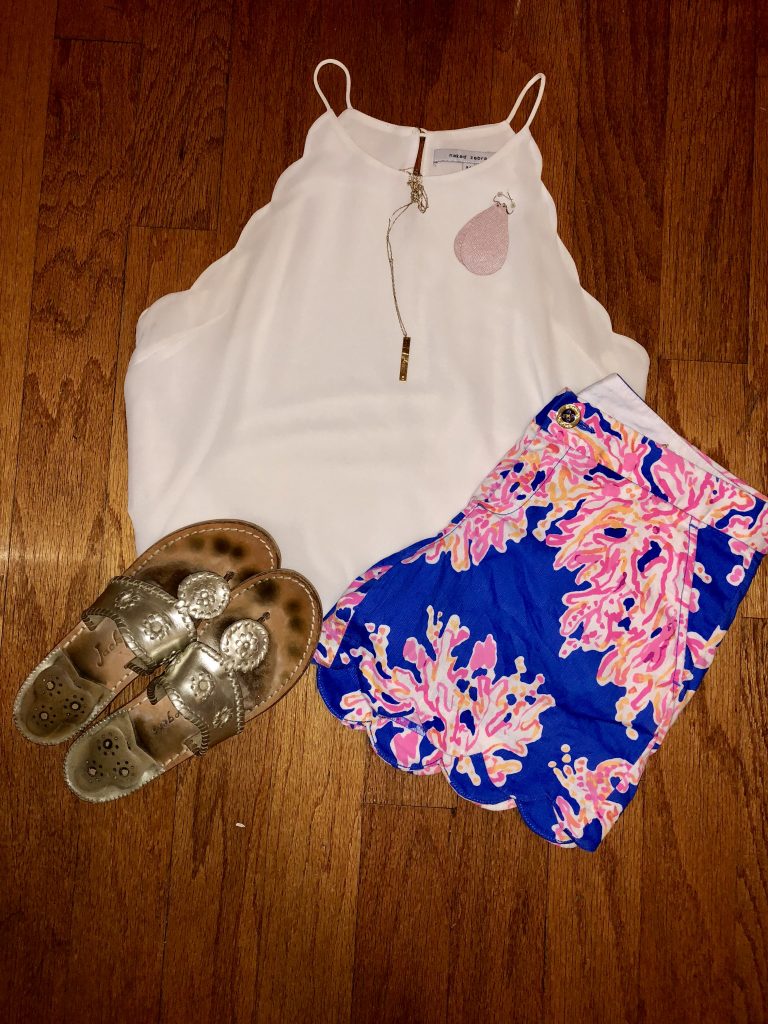
//Top Naked Zebra  //Shorts Lilly Pulitzer Buttercup shorts//Shoes Jack Rogers//
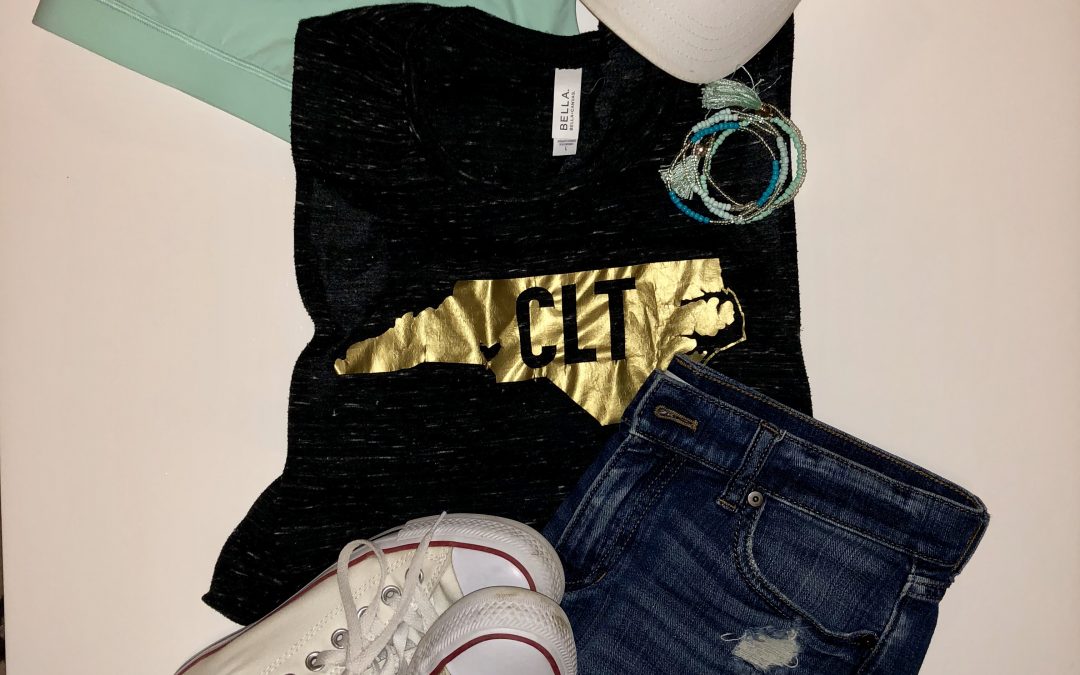
Day 2
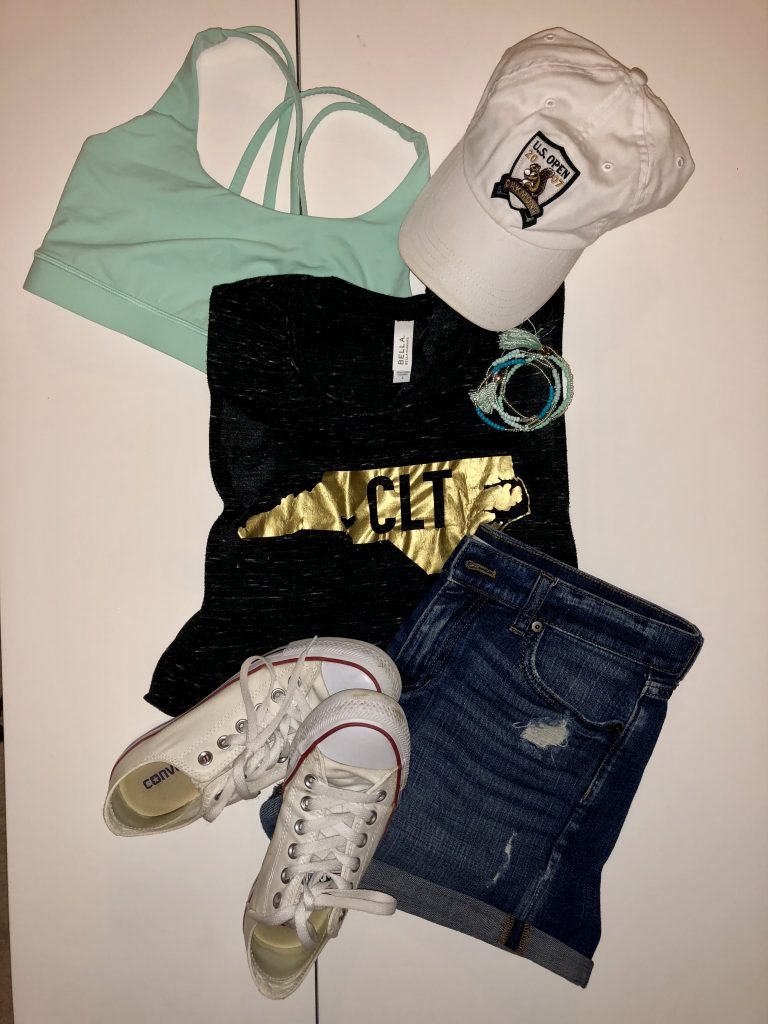
//Top CLT Find//Shorts Banana Republic//Bra lululemon energy bra//Shoes Converse //Bracelet CLT Find//
Day 3
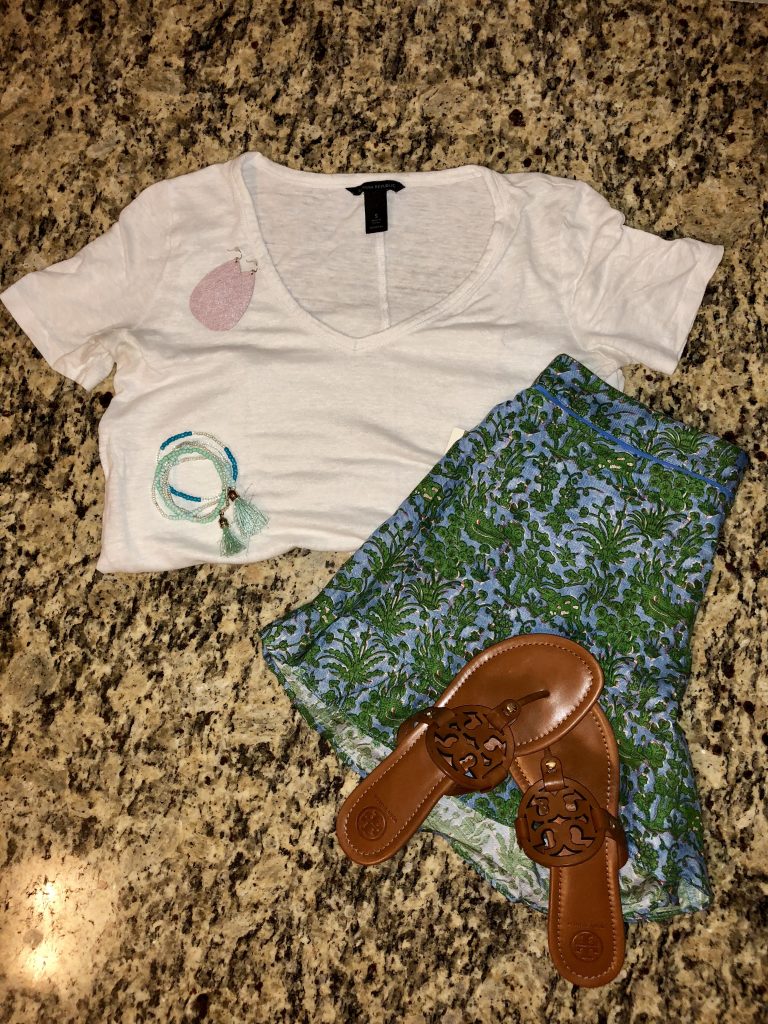
//Top Banana Republic//Shorts Anthropologie //ShoesTory Burch//Earrings Nickel and Suede//Bracelet CLT Find//
Pro Packing Tip: Lay out your outfits like I did. Include all the shoes, jewelry, undergarments, that will go with each outfit. Then when you put them in your bag you know that you didn’t forget anything. I used to overthink, ‘Wait, did I pack socks for each day?’ or think that I could mix-match on the fly. Knowing what goes with what leaves you with more confidence in your outfits so you don’t try to sneak extras in your bag last minute!
by chelsea | Jun 5, 2018 | Lifestyle
This past January I started making some serious changes in my diet. I guess at some point you have to accept you aren’t 17 and can’t eat whatever you want, whenever you want. Not only do I want to make sure that I look and feel good but we only have one body so I want to take care of mine! The goal of this new “diet” wasn’t to join a fad or label a diet but make sure everything I put in my body gives it the nourishment it needs to perform its best. To do this I needed to start cooking more so I could avoid the extra flour and sugar that they sneak into everything! I learned a lot of awesome new recipes along the way. I’m sharing one of my favorite healthy-option desserts, chia pudding. I know some people use this as a breakfast and snack too. Chia pudding has been popular for the past several years but I didn’t try it until recently. It’s turned into one of my favorite special treats!
I’m sharing my recipe here. There are so many different versions but I’ve been sticking to this because it’s simple to make and is a lower- calorie option! Give mine a try or look up some other recipes that seem like your taste!
Here’s how to make it!
Ingredients:1 cup coconut milk
2 cups coconut milk
1/2 cup chia seeds
1/4 cup maple syrup
1 teaspoon vanilla extract
1/4 teaspoon cinnamon
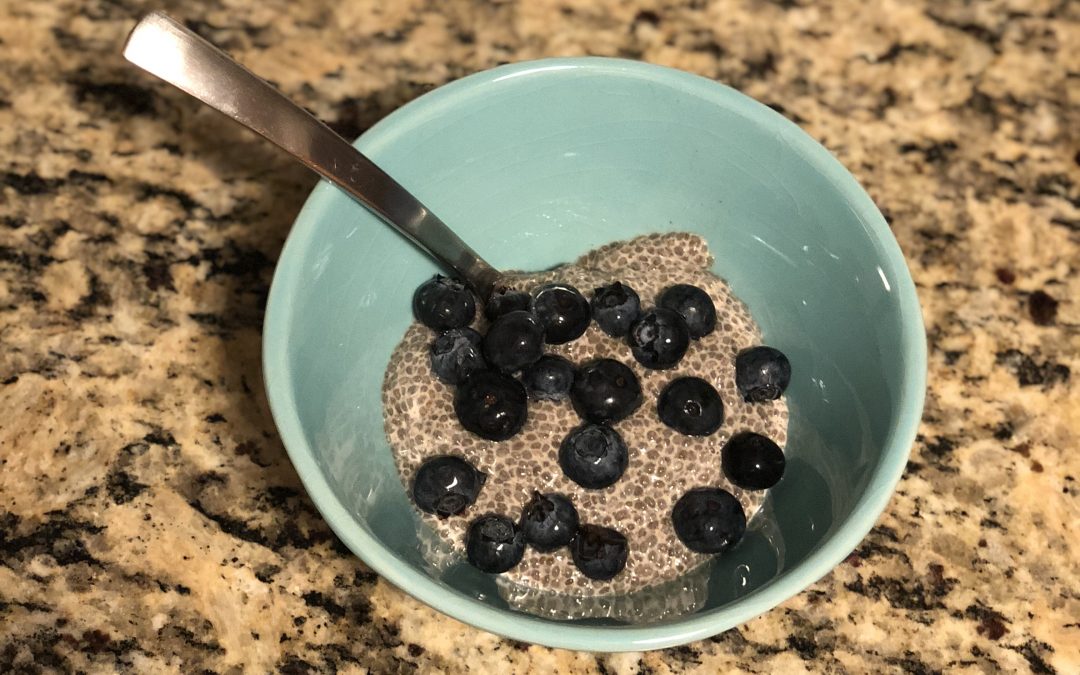
1/4 cup blueberries
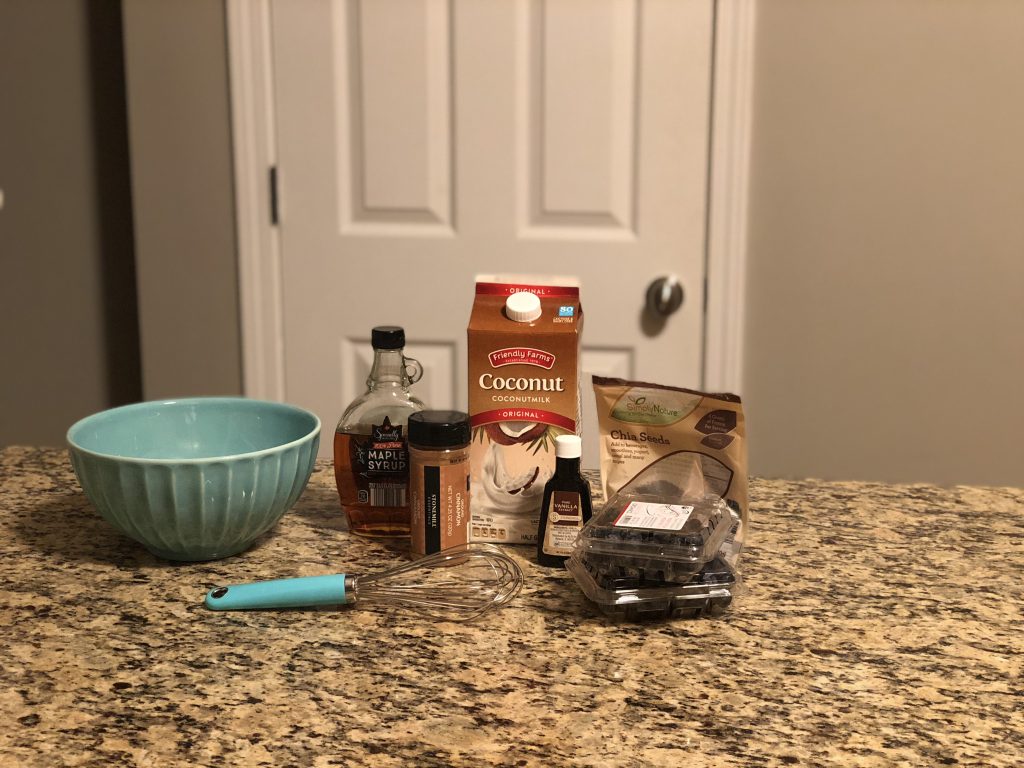
Ingredients and supplies
Steps:
1. Put the chia seeds, coconut milk, vanilla extract, cinnamon, and maple syrup together in a bowl.
2. Whisk, cover, and refrigerate for at least 4 hours.
3. Serve in a bowl and top with blueberries. Enjoy a cool, healthy treat!
I hope you think it’s as yummy as I do! I’d love for you to share your version or favorite fixings to top your chia pudding!


 Thanks for checking out Colorfully Grey.